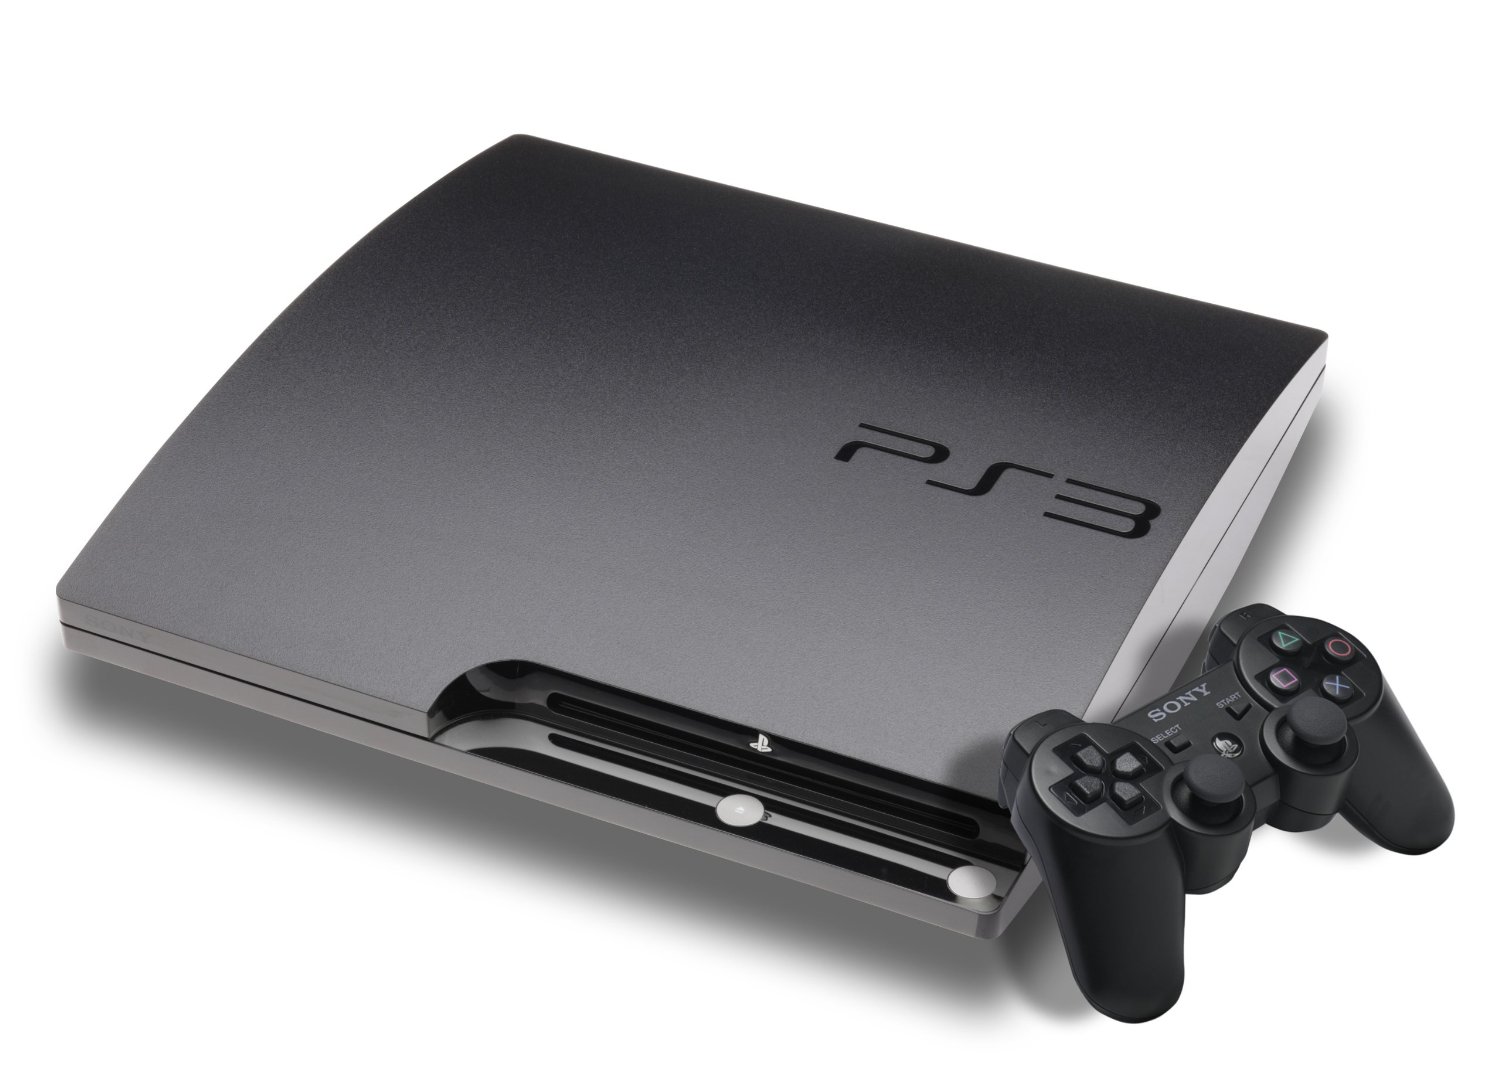
When I bought my PS3 (the slim model) I have a choice between the 160GB and 320GB models. As I had no intention of storing music and photos on it I thought the former, cheaper, model would be fine. I was wrong. I didn’t account for 2 things – 1) the size of games and 2) getting Premium membership, which means getting lots of free, downloadable games. As a result my drive space is regularly running out.
 As it turns out upgrading the PS3 hard drive is quite an easy task. However, when reading up on the subject I found lots of guides that missed out critical pieces of information or were just plainly confusing. So, this is my attempt at a definitive guide. I’ve not provided details on what key presses are required where these are mentioned on-screen – I found that some instructions were wrong, or had simply changed, so if it’s quite clear how to proceed then I don’t detail this. It may look quite daunting but that’s just so I can cover everything – it’s genuinely easy to do (and if you think otherwise I’d suggest you look up how to do the same on an Xbox!) and 99% of the time taken to do it will be waiting. Depending on the amount that needs backing up, the whole process (once you have a new drive) should be possible within 9 hours.
What Drive to Use?
So, you’re now looking to put a bigger drive in. There are various warnings to stick below 750GB drives, including from Sony, as not all work of higher capacities. If you want to “go big” though I’d always recommend a quick search on Google for your drive to see if anybody has tried it already.
There are, though, some restrictions…
- It has to be a 2.5″ drive
- It has to have a SATA connector (the PS3 uses SATA 1 but SATA 2 and 3 drives are backwards compatible, so you don’t need to worry about it. Equally you’ll get no speed benefit from using these drives)
- It needs to be 9.5mm deep or less. Even 9.5mm may be pushing it for some drives and some have reported that in these cases you can get around it by not using the drive caddy that is used within the PS3 to hold the drive. I’d try to stick with 9mm and below (also be aware that some retailers round drive sizes, so may list a 9.5mm height drive as 9mm).
Personally, I’ve gone for the Seagate Momentus XT, which is a hybrid drive – a 500GB hard drive with 8GB built in SSD, which is automatically cached to for speed improvements. This has been tried in the PS3 by a number of people and all have reported big increases in speed. This drive is 7mm in height too.
Seagate do produce a 750GB and 1TB versions of the drive. The 750GB appears to be hard to get hold of and appears to be the older version of the drive (the original model ran at 7200 rather than 5400 rpm which, although quicker, would have led to a noisier and hotter running drive). The 1TB model is probably over-kill, particularly as it’s a lot more costly and, with a height of 9.5mm, is stretching the height limit. At £56 from Amazon, it’s a bit of a bargain.
Now, many people have asked the question as to whether a hybrid drive is worth it, bearing in mind that the PS3 only uses SATA 1, which has a maximum throughput of 150MB/s. The answer is yes. If you look at benchmarks for even the fastest 2.5 drives, you will see maximum (and remember that’s maximum) speeds of substantially under than 150MB/s limit. That leaves room for the SSD to push that bit further towards the SATA 1 maximum, and pushing every benefit out of the system.
StorageReview.com have done an excellent review of the drive. Their conclusion..
Seagate’s 500GB SSHD Thin drive at 7mm is a wallet-friendly alternative for users seeking new technology that provides low-power consumption, serious performance gains over conventional HDDs when in cache, and overall solid value per gigabyte.
What Else Is Needed?
Once you have your hard drive there are 4 further things you’ll need..
1. A Philips head screwdriver
This will be for removing the small screws that secure the hard drive in the PS3.
2. A Mini USB cable
This is to connect a controller to the PS3 after you’ve installed the new hard drive.
3. A USB memory stick
This is to store the latest Firmware on (basically, the Playstation’s operating system). It needs to have at least 200MB of storage available on it to store the firmware and needs to be formatted as FAT32.
4. A USB external hard drive
This is to store your game, and other applications, backups. The size of drive you need is dependant on how much you need to backup and you’re unlikely to get it onto a USB memory stick so an external 2.5 or 3.5″ drive will probably be necessary. I tried a USB 3 drive and it wouldn’t work (although it’s supposed to be backwards compatible, from the sounds it was making I think power was an issue).
To work out how much space you’re currently using (and therefore how much capacity your backup drive needs to be) go into Settings -> System Settings -> System Information.
Now, at this point you may have a problem. The PS3 will only recognise a FAT32 drive, but if the format of the drive is NTFS and you’re trying to change it then you’ll find that Windows won’t let you – it tries to enforce it’s own NTFS onto large drives. There are solutions to this, however.
Preparation
So, before we start pulling out drives, there are a few things you can do in advance.
1. Prepare the firmware
Download the latest firmware from the Sony website – US or UK.
Format your USB memory stick as FAT32 and create a folder named PS3 with a sub-folder of UPDATE. Place the downloaded firmware within the UPDATE folder.
2. Check the hard drive
It might seem obvious but before we do anything with the PS3’s hardware plug your external hard drive in and ensure that the PS3 recognises it. Personally, I’d format it beforehand and stick some photos on and ensure that the photo browser finds them.
Backing Up
We now need to backup the PS3 to ensure no data is lost. Before commencing I’d ensure that you’ve performed a recent trophy sync and also, if you’re a Premium member, had an overnight backup of data to the cloud since you last played a game.
- Connect your external hard drive
- Navigate the XMB to System Settings > Backup Utility
- Choose Backup from the list of options
The backup should now commence – depending on the amount it has to backup it may take a number of hours, so this may be something you’ll want to leave overnight. In my case it took about 4 hours to back up about 110GB.
Swapping the Drives
Up until now nothing has been specific to the model of Playstation. Until now. Each of the 3 models – “fat”, slim and super-slim – have their own method of removing the drives. Thanks to iFixit and Gamespot I’ve found 3 excellent tutorials on how to do this – depending on your model select the tutorial and follow it through to swap the old and new drives…
Original “Fat” Replacement (courtesy of iFixit)
Slim Replacement (courtesy of iFixit)
Super Slim Replacement (courtesy of Gamespot)
Restoring Your System
Your new drive is in place and now it will need re-building from the firmware installations and backups that you have.
Connect a controller to the PS3 via a USB cable and switch the PS3 on. It will recognise that the OS is missing and prompt you to plug in the USB memory stick that you prepared earlier with the latest firmware. The formatting of the new drive will now take place and the firmware will be copied on.
Once done the system will start as if brand new, taking you through various set-up screen, etc. Theoretically you can now stop – your system is usable and you can restore your games by re-downloading and re-installing them. If you have Premium your game saves can be restored from the Cloud. This is what you’d certainly do if you had a hard drive failure and hadn’t had a chance to take a recent backup. However, as we have been able to do, we’ll do that and get the system back to how it was before we commenced.
- Plug in your external drive
- Navigate the XMB to System Settings > Backup Utility
- Choose Restore
This should copy your saved data back to the PS3 hard drive. For my 110GB it took about 3.5 hours.
I found that online passes often needed re-downloading and my initial trophy sync took an age to perform but, otherwise, everything was back to how it was.
Leave a Reply to Jay JCancel reply