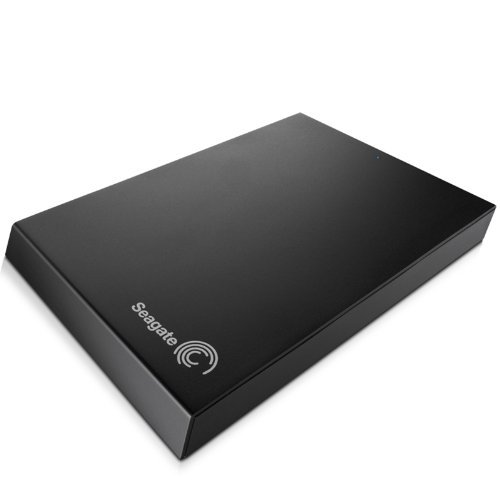
The Seagate Expansion Portable is an excellent value-for-money external storage device but it also contains some rather tasty 2.5″ drives that, if purchased separately, actually cost more. As a result, many people buy the Expansion to get to their contents. I’ve done just that and thought I’d document the process.
Apart from the drive, you’ll need a small/medium Philips screwdriver and some kind of spudger1.
Holding up the Expansion you’ll see that the outer case consists of two horizontal halves, with a visible seam running around the case. Find the side opposite the USB 3 port and ease the spudger down the seam, pushing the two overlapping sections apart. This should slowly come apart, but you need to concentrate near the corners. Once a corner is lifted you’ll see it starts to separate on the long sides of the case – you can then get in here and start to separate these too. This requires patience and a light-handed approach – the case uses plastic lugs to hold the sides together and it’s all too easy to snap these off (even with my softly-softly approach I broke 3, although the case still went back together again later).
Once the two halves are eased apart you’ll see the drive inside. You simply lift this straight up to get it out. On the side of the drive you’ll find there are 4 rubber grommets – this come off easily, if they’ve not already dropped off. Underneath are 4 Philips screws and these will need removing too.
Covering the back is a thick foil cover, which has been lightly stuck to the rear of the drive. Peel this off (carefully if you want to put another drive in the case and re-use it) and it will reveal the rear board which does the USB/SATA data conversion. Wiggle this to get it to separate from the drive.
You should now have a 2.5″ drive which can be used in a games console, laptop, etc.
To replace the drive (with the original or a different one), attach the rear board and re-apply the silver cover. Now add the screws and place the rubber caps over the top. The drive should drop vertically into the bottom half of the case (the rubber caps will fit between some plastic vertical sections of the case bottom). The top of the case will now (hopefully) snap back onto the bottom and… voilà, it’s done.
- I got a cheap one from Amazon but anything with a flat tip will do – a flat-bladed screwdriver could be used but may cause damage ↩︎
Talk to me!