A few years since purchase, the battery in my daughter’s Nexus 5 was, shall we say, ready for replacement (it was fully draining within a couple of hours). Although without an officially replaceable battery, replacing it isn’t too difficult.
In preparation, I purchased 2 things – a new battery and a phone repair kit, the total costing less than £14.
There are 2 difficult stages to this and the first one is straight away – getting off the back. You need to use a spudger, or similar, to slowly ease off the rear case by prising it open from the side. It takes some patience and is likely to lead to some sore fingers. Even after all that I managed to break a couple of the tabs holding the case on, so be prepared for the phone not looking as neat after you’ve finished (a case is probably going to be best to hide any blemishes!).

Once the rear is removed you’ll see a plate on the top half of the phone. Remove the six 4.0 mm Phillips #00 screws that hold this in place.

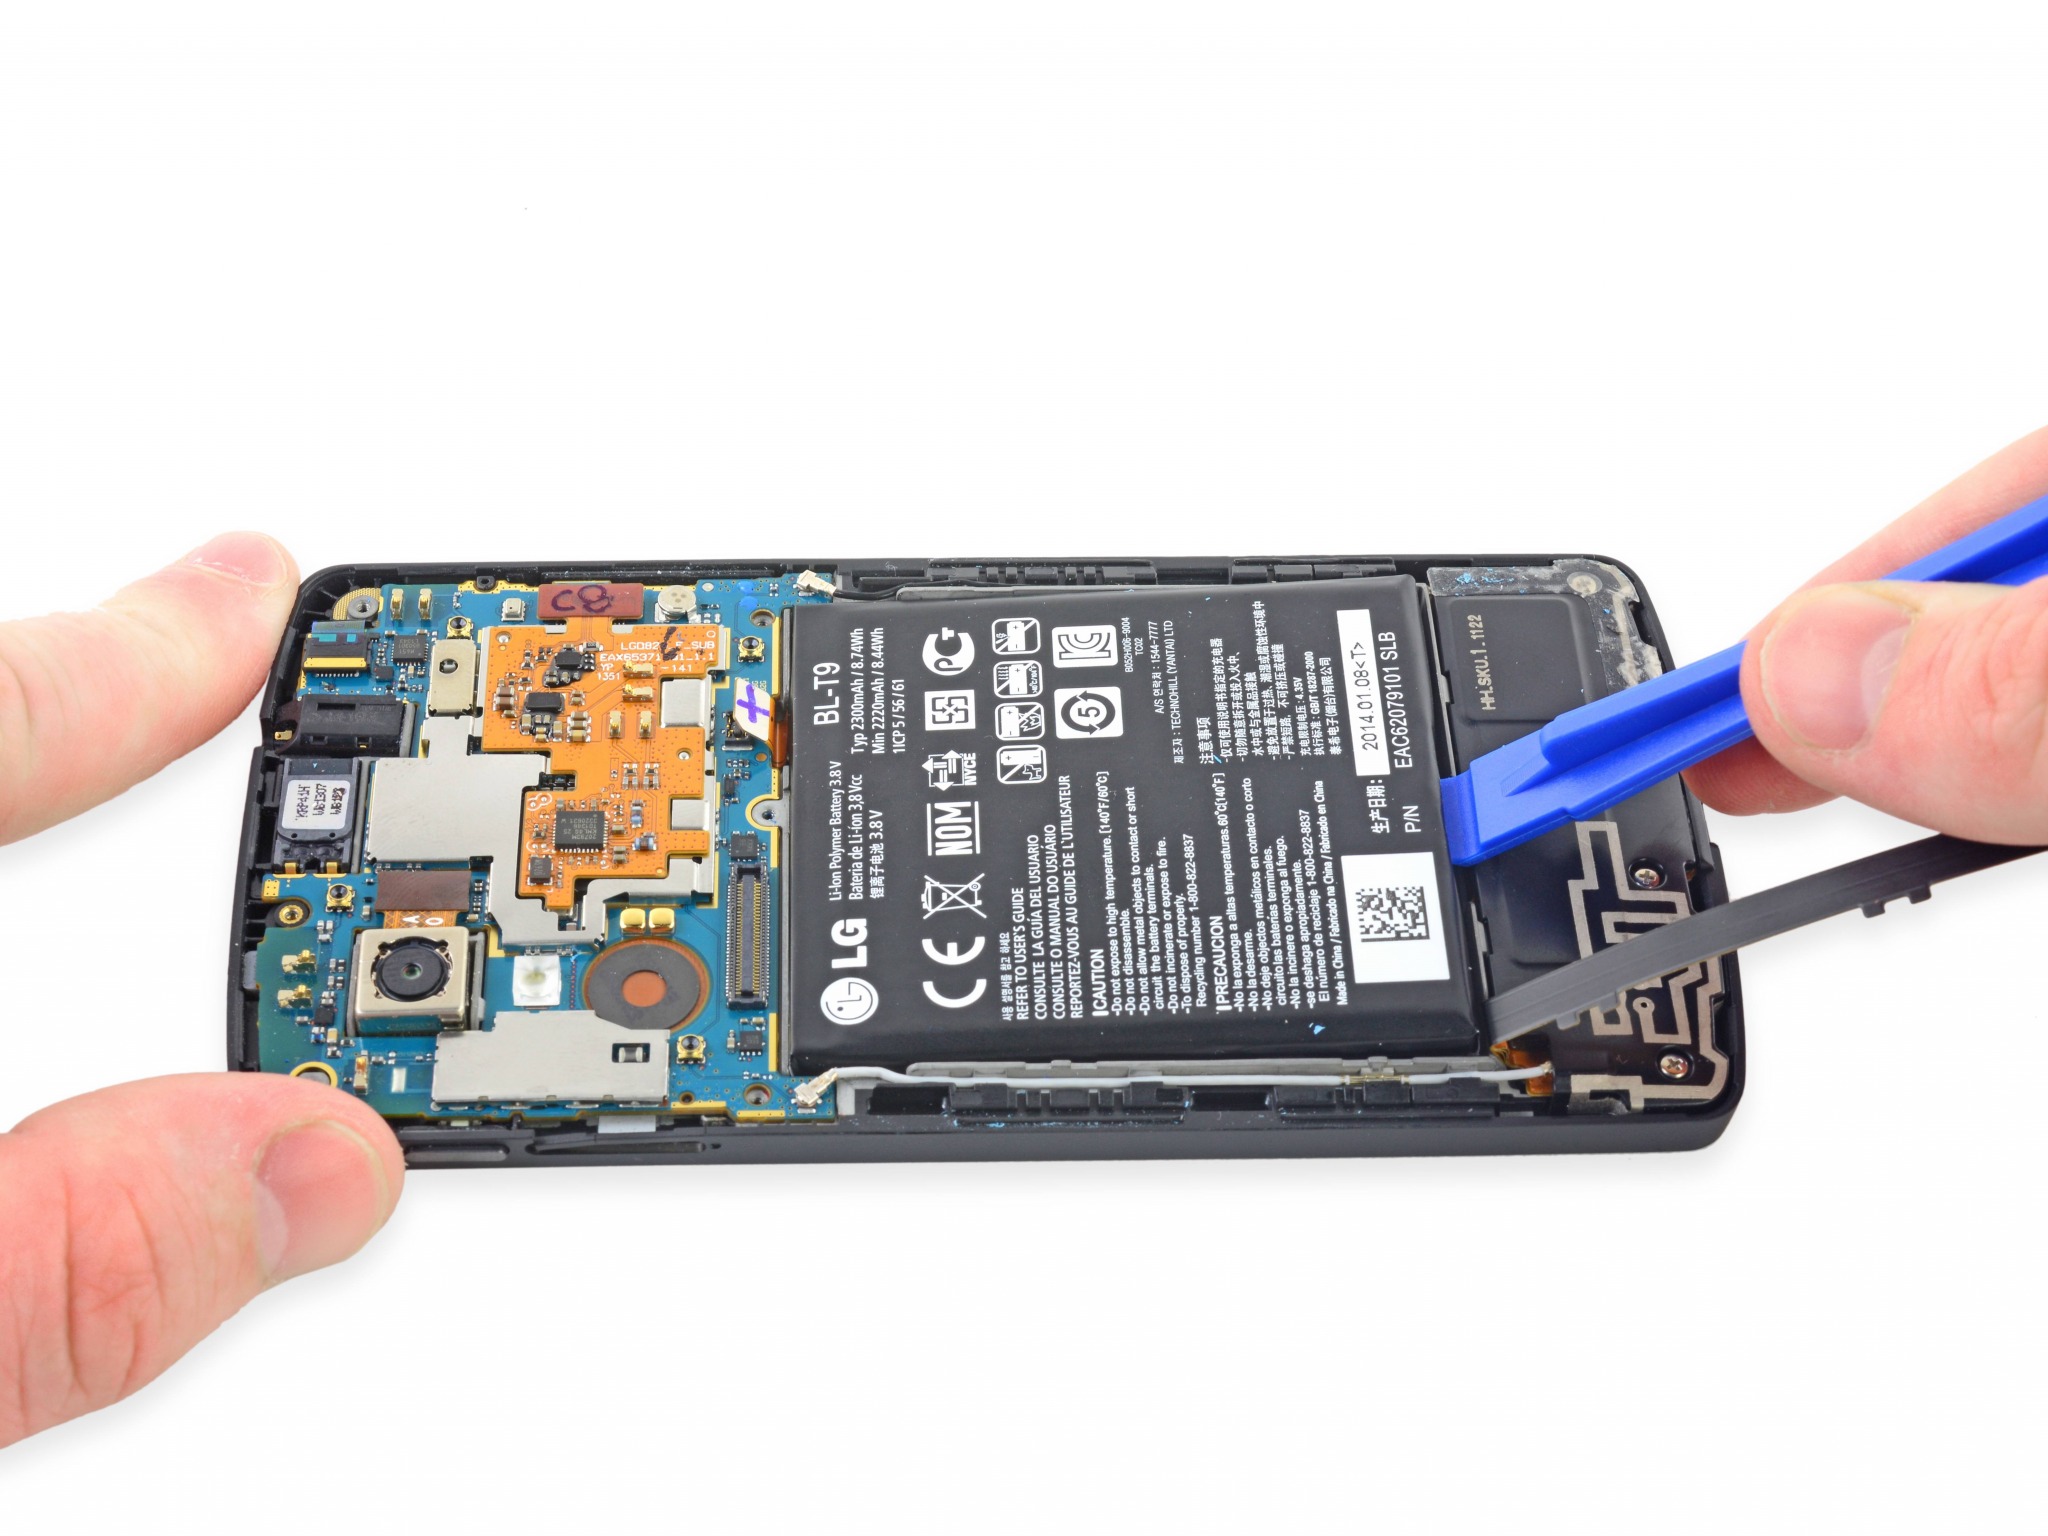
Remove the plate and this will reveal two connectors above the battery. Use a spudger to lift these up.

Once they’re lifted those out of the way you’ve got the second hard task – removing the battery. It’s glued underneath so it’s a case of slowly easing it up, starting from the sides and working inwards. It was slow and frustrating to do but at least there’s nothing here to break except for the battery that you’re removing anyway.

Once out, place the new battery in and reverse the above process.
Talk to me!