If you have a number of Lego Minifigs then displaying them is something you may consider. However, official products can be expensive, and will often not hold many.
So, I set out creating my own on a relatively shoe-string budget. How does £20 for displaying 66 figures sound?
What you'll need
First of all, we need a case. Ikea sell a deep picture frame named the RIBBA. For my purposes, I bought the 50cm x 50cm version for £10, but a smaller one is also available. This has the glass at the front of the frame but the picture is held at the back – between the two there is enough space for a 3-stud depth Lego brick.
Next, you'll need some thick card to put in the back of the frame. I bought a sheet of thick A1 card (the target is to get something as thick as the card mount that comes with Ikea frame) from a local art shop – it cost me around £5. It then needed trimming down to the requisite 50x50cm. The aim now is to stick Lego blocks onto this card onto which the Minifigs will stand. What colour bricks is personal choice (as is the background card) but I went for white, 2×2 bricks and a few 2×3 (for those figures that are deeper – for example, having a backpack of some kind). Lego has its own "Pick a Brick" service where you can order individual bricks but I used the excellent Brick Owl. 60 2×2 bricks and 6 2×3 bricks cost me total of £5.05, including P&P. On top of that I switched out threee of the 2×2 bricks for a couple of 2×4 that I already had.
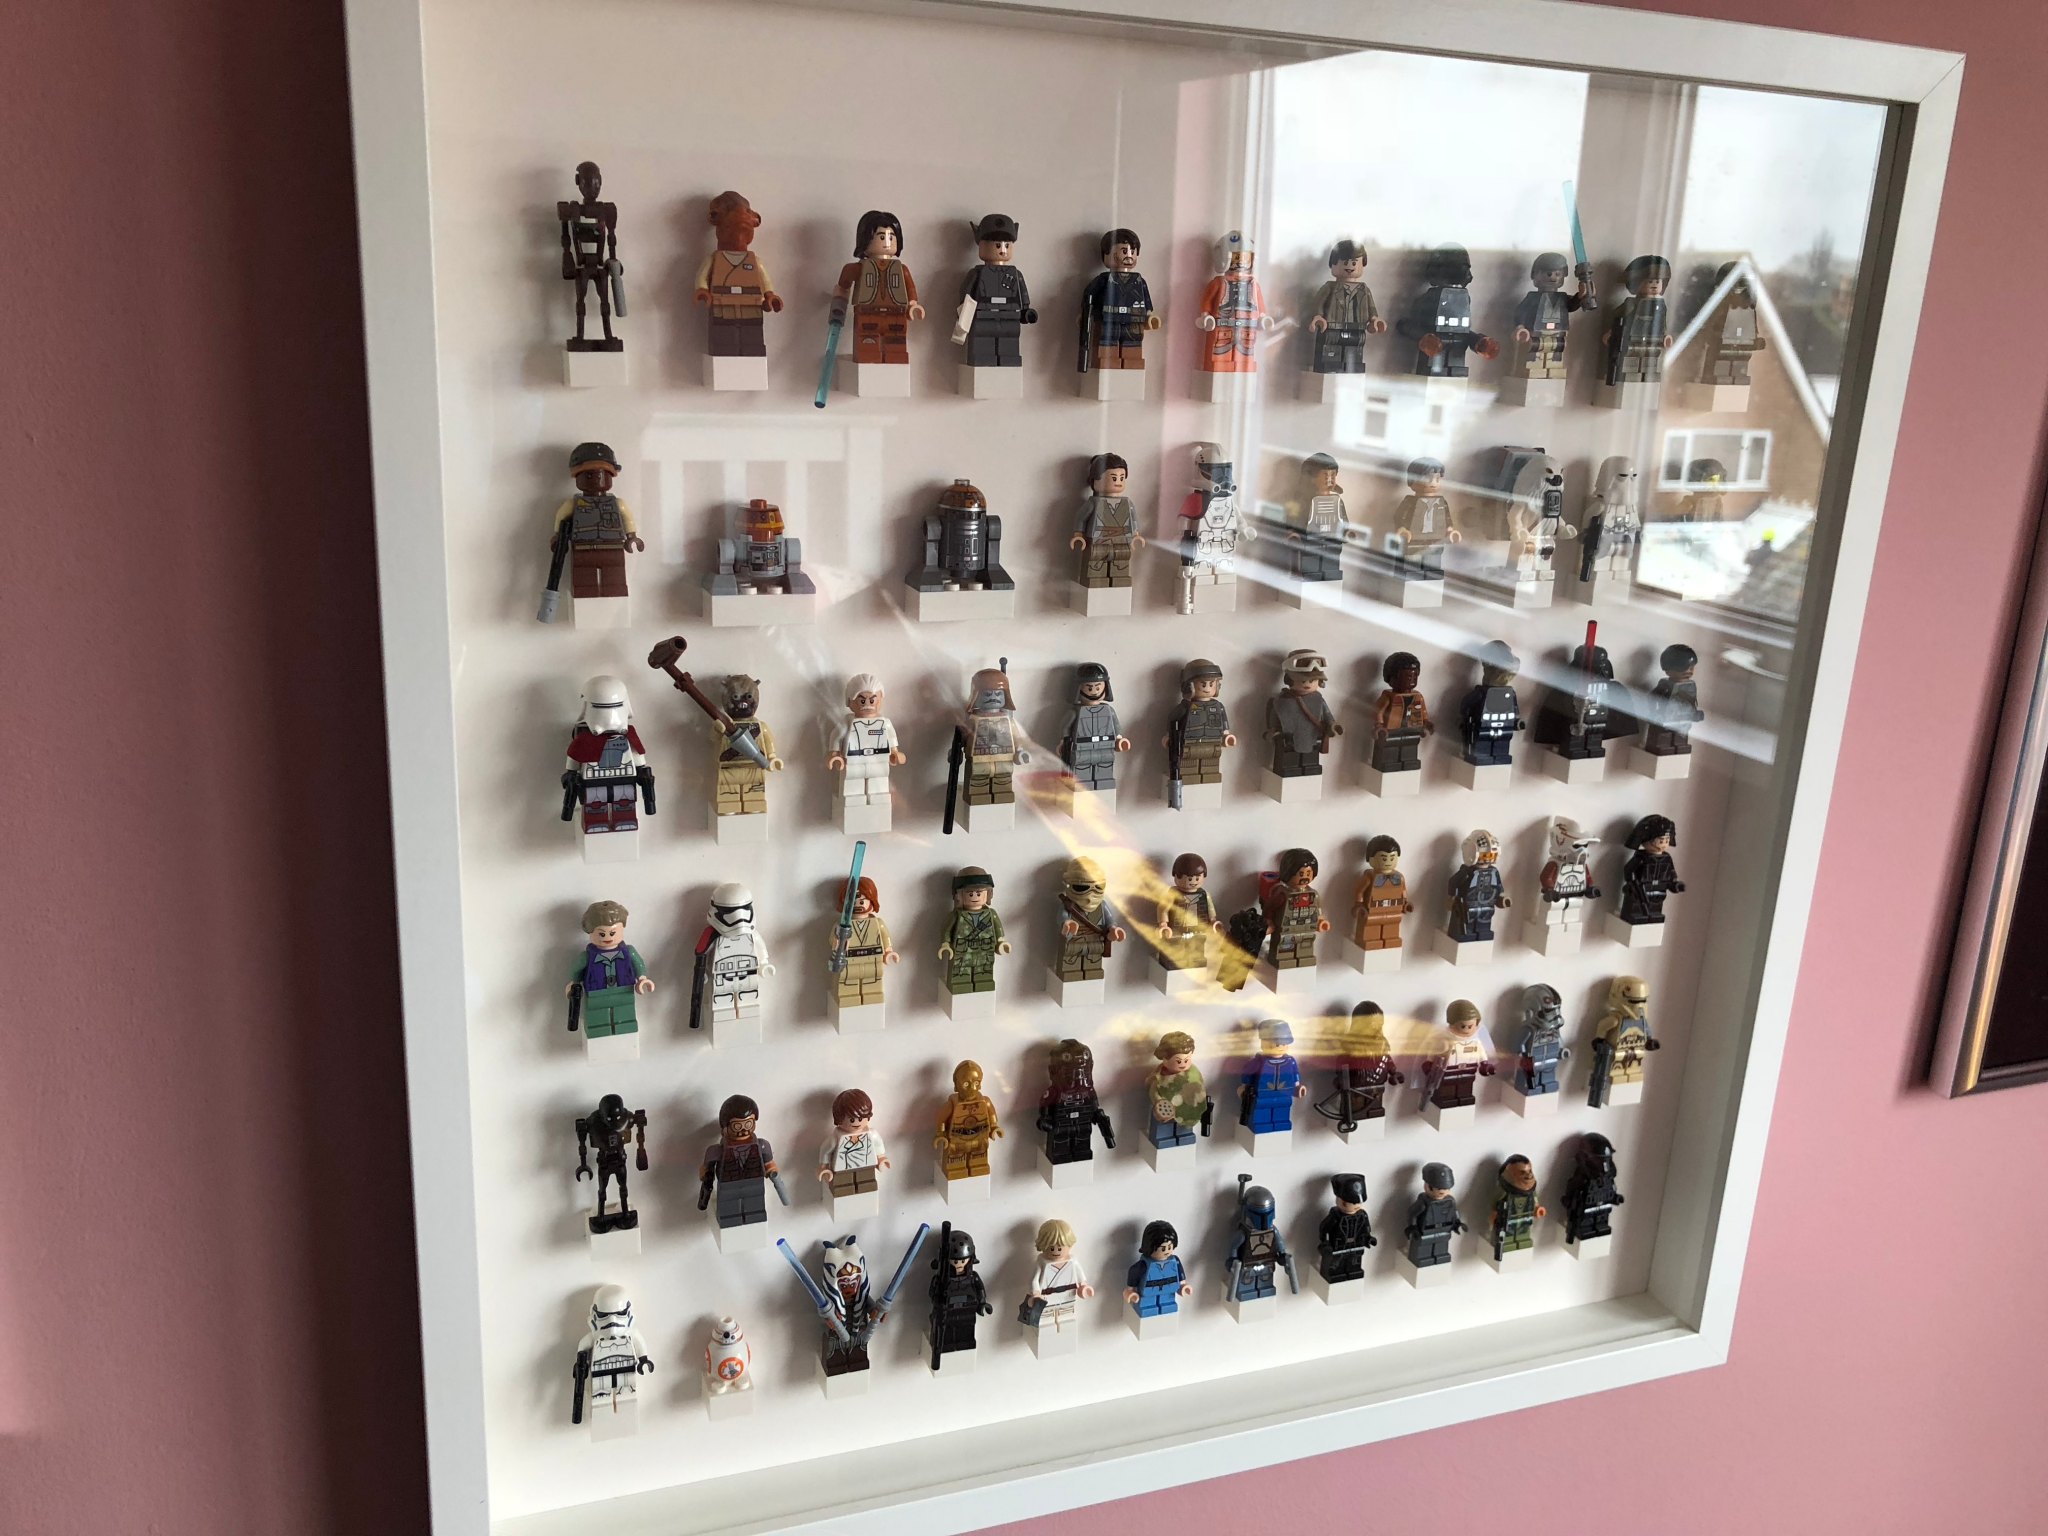
How did I come up with the number of bricks? Well, again, this is personal choice as to how you wish to space everything out – I'm going for neat rows but with a border around the outside and even space between each figure to accommodate any accessories as well. The end result, after working out the maths, was 11 figures across and 6 down – hence 66 figures in total. However, because of the requirement to have two 4 width bricks, I swapped these out, spacing wise, for 3 of the set spaces – hence, one row is only 10 across now.
Here are my figures…
- 4.2cm border around the card
- Each brick is 1.6cm across and 1cm high
- With a 2.4cm gap between each brick, I can space 11 horizontally
- With 5.9cm additional space above each brick (Minifigs are generally up to about 4.5cm in height, which gives a minimum of a 1.4cm gap, vertically, between them. This gives me a total of 6 rows vertically
Now, having bricks and card is all very good but you need to stick them together. Initially, I tried using PVA, which appears to be the recommendation for most gluing jobs, particularly involving cardboard. However, this isn't very good at holding the plastic. More research was needed. I found out the exact material that Lego bricks were made from (ABS) and researched the best glue for his, hoping that whatever was good for the bricks would be equally good on card too. I was right – I ordered Bostik Hard Plastics adhesive from Amazon and this worked a treat.
So, at this stage, you should have something like this…

The total list should look something like this…
- Ikea RIBBA frame
- A1 card
- A soft pencil
- Eraser (I favour the Boxy, as it's particularly effective. However, to ensure none of the particles left by the eraser don't end up getting stuck in the glue, you may want to use a putty eraser).
- Scissors or craft knife
- Ruler
- Calculator
- Notebook
- Bricks
- ABS adhesive
How to make it
Next, you need to cut your card. The cardboard mount provided with the Ikea frame is ideal as a template.

I ended up using a craft knife in the end because of the thickness of the card. The edges still ended up looking a little scrappy but that's no an issue as it will be hidden once in place.

Now, using ruler and pencil add fine lines and marks to indicate where the Lego bricks will go. As I go to add each brick I then erase all lines except for the one that will be hidden by the bottom of the brick – this remaining line allows me to ensure it's stuck on straight.
Add a fine layer of ABS glue to the brick and to the card and leave for a minute to nearly dry – then push the brick firmly onto the card. I did a row at a time and left it a couple of hours to dry – this was in case I caught any of other rows whilst adding the next one.

Once it's done, you should have no pencil lines and an awful lot of glued bricks.
Now add your Minifigs to taste and carefully place the card into the frame. Some of mind were too close to the front glass to needed re-arranging. But, once you're happy, seal the frame up and hang.

Any improvements for the next one? I'd have less room on the top as most Minifigs are of an average height so, here, I have an extra large gap – if you have taller ones you can place these on any of the other rows. I'd also have better thought out the 2 wide bricks, which are badly spaced as a result.
Otherwise, it went well and looks particularly professional. I have a number of left-over Star Wars figures so may attempt to repeat this but with the smaller Ikea frame.
ℹ️ As an Amazon Associate, links on this post may mean that I may from qualifying purchases that you make.
Leave a Reply to Scott RutlandCancel reply