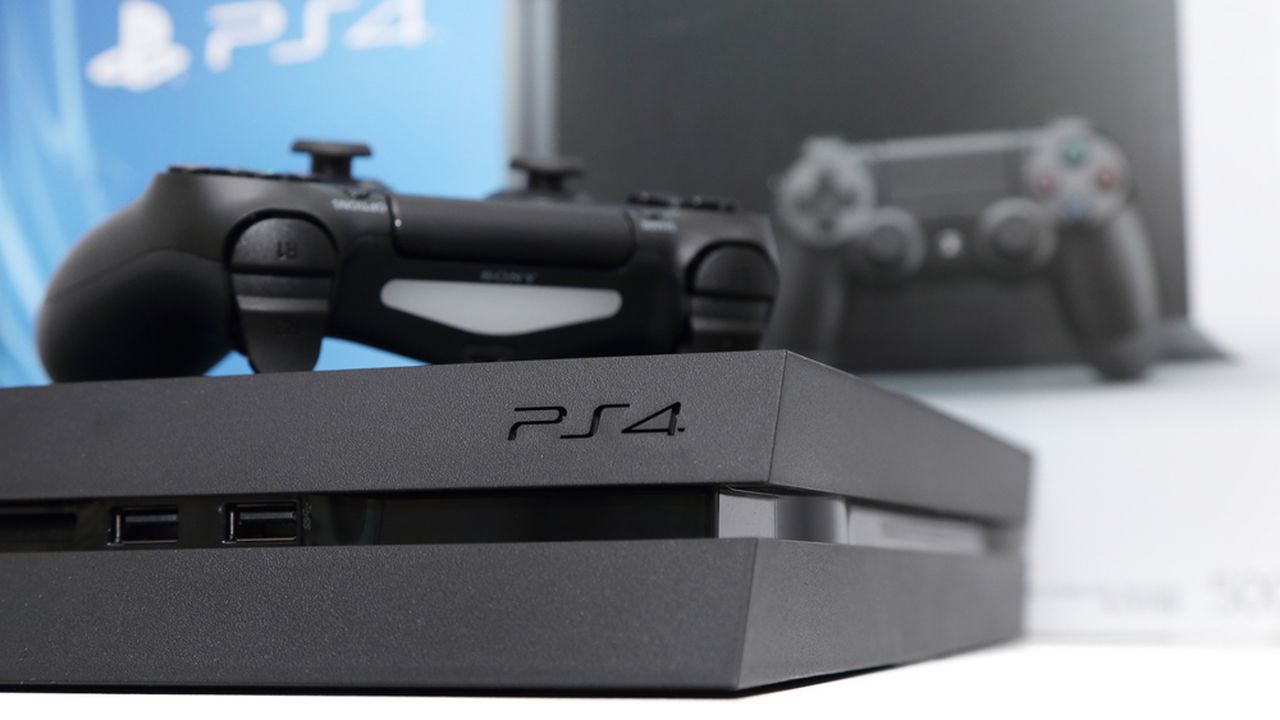
Tired of the poor Bluetooth transmission range of my PS4, I’ve decided to do something about it. A quick Google and it became apparent that I could fit an external aerial that would help, so this is my diary of doing this.
Okay, so I never intended for this to be a multi-part post but, as will become apparent, things didn’t go as well as was expected…
Preparation
In advance I ordered the parts I wanted – an external antenna, designed for Bluetooth, as well as the appropriate connector. This is what I got…

The Ipex connector is what is needed to connect it to the PS4 motherboard. At the moment, there is an internal antenna and, well, we’ll get to that. But for now, the idea is to drill a hole in the PS4 case to mount the aerial and connect up that cable, replacing the existing antenna. All good.
The above can be purchased from Amazon for £7.99 and you get two of everything too.
I have a whole load of specialist screwdrivers and nik-naks for getting into items, so was well prepared for this. Oh, and an average iFixit tear-down (it’s not as detailed as many are, I felt).
Getting in
First-things-first, you need to remove the “warranty void” stickers from the rear to reveal the first Tork screws (ringed below)…

The two in the middle were a LOT easier to remove than the un-printed ones on the outside.
You may also notice that my PS4 has some soft-rubber, domed feet on it – this is to prevent noise from being channeled through to the hard surface that it sits on.
Now, propped up on a tool box, here is the end result, sans screws…

If you now turn the front of the PS4 to face you (still upside down), it should now slide away from you.
Tracing the Bluetooth antenna
Et voila – one, very dusty PS4.

The Bluetooth antenna can be seen already – it’s the very dusty line running down the right-hand side. Now, it’s worth paying attention to where it connects as some people have experienced issues due to this breaking – it’s simply soldered into place, as you can see in this close-up…

Mine was fine. However, this metal plate acts as the antenna and you may notice that this is the front, left hand of the PS4 (it’s just under where you insert game discs in the front) – it’s worth bearing this in mind if you have poor Bluetooth range.
The cable goes across the PS4 and down to the other side, so it’s time to get to it. Rather than take the case off on the other side, this may be something I can access from here by removing some of the components, so that’s what I’ll do first. Even if it’s not, I need to give this a serious clean so getting as much out as possible will help me do that.
Taking apart
Now things go wrong.
Most of the Torx screws are coming out but there always appears to be one, per component, that doesn’t. It’s confusing and frustrating.
After getting a few metal plates off and nothing else, I decided to flip the PS4 over and remove the case on the other side.
One side is easy to do, as that’s designed to simply slide off so that you can easily replace the hard drive. The other is a little more difficult – there are 2 screws to remove but also a specific way of then removing the case – have the back of the PS4 towards you and grab the front of the case on the right, easing it off. Then do the same on the left-hand and, with a little easing, it should come off (once the front is loose, you need to slide it back towards you).
Everything now is covered by a large plate and, again, there’s a single screw that simply won’t come out. The end of the aerial is teasingly close but still not accessible.
The end?
I give up. I’ve got no-where and I’ve now spent about 2 hours on it.

It’s time to roll back what I’ve done and re-group later. So, I give everything a clean (air-duster FTW!) and re-assemble it all.
Back to where I started
With fingers and toes crossed, I connect the PS4 back up and press the power button… it beeps a few times and then does nothing. I try again with the same result. Bugger.
I leave it a minute and try again… and it now bursts into life. All appears fine but I do a few tests. All seems okay.
The follow-up
After a bit of research, it turns out that I’d missed something. There is a difference between a standard Torx screw and a Torx security screw (e.g. the PS4 uses TR9 screws – a standard Torx screw of the same size would be a T9). A security screw (and I assume those that I couldn’t remove) has a bulge in the centre, requiring the screwdriver to have a hole in the middle.
So, I’ve now ordered a set from Amazon. I’m not going to attempt this until the next weekend, when I have time and am more awake (in preference to trying to do this one evening after work).
I’ll then write up how that goes – hopefully I can everything dismantled and that aerial sorted. I’m going to go straight for the top case this time, as I need access to where it connects to the motherboard, rather than the eventual antenna point.
I then need to work out where to root the cable and, ultimately, where to mount the external antenna – more fun to come but, hopefully, less stressful next time!
ℹ️ As an Amazon Associate, links on this post may mean that I may from qualifying purchases that you make.

Talk to me!